How to Preserve Excess Harvest
There's a moment every gardener knows well — you walk out to your balcony or backyard, and suddenly your zucchini is the size of a baseball bat, your tomatoes are all ripening at once, and your herb pots are overflowing. It's a wonderful problem to have, but if you don't act quickly, all that hard work can end up in the compost bin instead of on your dinner table.
The good news? Preserving your excess harvest is easier than you might think, deeply rewarding, and one of the smartest things you can do with a productive garden. Let's explore why it matters, how to do it, and the very real benefits it brings to your kitchen and your life.
Why Preserve Your Harvest?
Before diving into methods, it's worth understanding why preservation is such an important part of the gardening cycle.
- Reduce food waste. Fresh produce has a frustratingly short window. Preserving it means nothing goes to waste — every tomato, every bean, every handful of herbs gets used.
- Save money. Growing and preserving your own food dramatically cuts grocery bills, especially during the off-season when fresh produce prices climb.
- Eat seasonally, year-round. Preservation lets you capture the peak flavor of summer and enjoy it on a cold January evening.
- Control what's in your food. When you preserve your own harvest, you decide what goes in — no mystery preservatives, excess sodium, or additives.
- Build food security. A well-stocked pantry of preserved goods gives you a meaningful buffer against supply disruptions, price spikes, or simply a busy week when you can't make it to the store.
- Connect with tradition. Humans have been preserving food for thousands of years. There's something deeply satisfying about carrying on that tradition with food you grew yourself.
Methods of Preservation
There are many roads to a well-preserved harvest, and the best method depends on what you've grown, what equipment you have, and how you plan to use the food later. Here's a thorough look at your options.
🫙 Canning
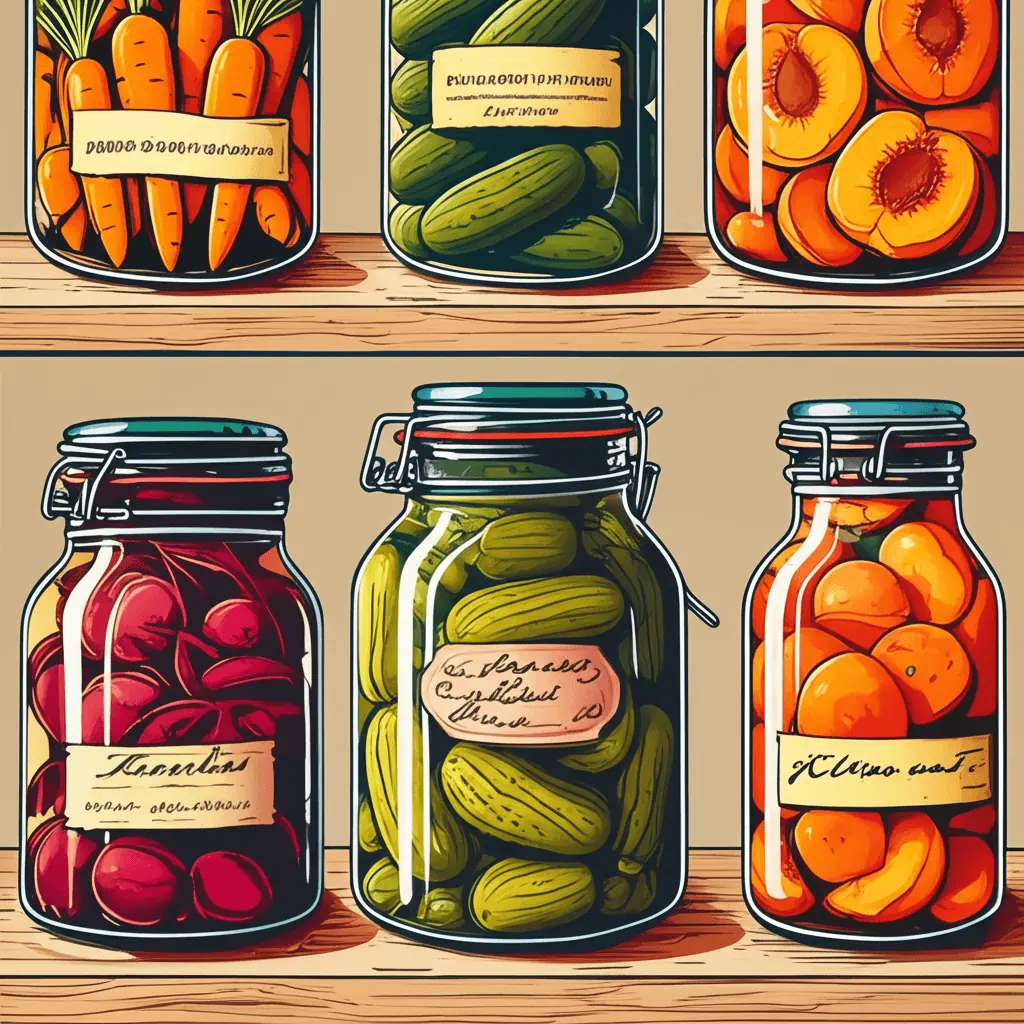
Canning is perhaps the most iconic preservation method, and for good reason — a properly canned jar of tomato sauce or peach preserves can last 1–5 years on the shelf without refrigeration.
There are two types of canning, and it's important to use the right one:
Water Bath Canning is used for high-acid foods like tomatoes, fruits, jams, jellies, pickles, and fruit juices. The high acid content prevents the growth of harmful bacteria, making water bath canning a safe and straightforward process.
Pressure Canning is required for low-acid foods like green beans, corn, carrots, potatoes, and meats. Low-acid foods must reach a higher temperature than boiling water can achieve, which is why a pressure canner is necessary. Skipping this step with low-acid foods can lead to botulism — so this is one area where following tested recipes exactly really matters.
Tips for success:
- Always use tested, approved recipes from trusted sources like the USDA Complete Guide to Home Canning or the Ball Blue Book.
- Use proper canning jars (like Ball or Kerr) — never reuse commercial jars from store-bought products for pressure or water bath canning.
- Inspect jars for nicks or cracks before each use, and always use new lids each time.
- Label every jar with the contents and date.
Best for: Tomatoes, salsa, jams, jellies, pickles, applesauce, fruit preserves, beans, and soups.
❄️ Freezing
Freezing is the fastest, easiest, and most accessible preservation method for most home gardeners. If you have a freezer, you're already halfway there.
The key to great frozen produce is blanching. Most vegetables should be briefly boiled (typically 2–5 minutes depending on the vegetable) and then immediately plunged into ice water before freezing. This process deactivates the enzymes that cause produce to deteriorate in flavor, color, and texture over time — even in the freezer.
Fruits, on the other hand, generally don't need to be blanched. You can freeze berries, peach slices, and mango chunks directly on a baking sheet and then transfer them to freezer bags once solid — this prevents them from clumping together.
Tips for success:
- Remove as much air as possible from freezer bags to prevent freezer burn. A vacuum sealer is a worthwhile investment if you freeze large quantities.
- Freeze produce in portion-sized amounts so you only thaw what you need.
- Most vegetables last 8–12 months in the freezer while maintaining good quality.
- Label everything with the contents and date — frozen green beans and frozen edamame look remarkably alike after a few months!
Best for: Berries, corn, green beans, peas, broccoli, kale, spinach, peppers, herbs (frozen in oil or water in ice cube trays), and sliced fruits.
🧂 Fermenting
Fermentation is one of the oldest food preservation methods on earth, and it's enjoying a well-deserved renaissance among home cooks and gardeners. Unlike other methods, fermentation doesn't just preserve food — it actually transforms it, developing complex flavors and creating a product that's arguably more nutritious than when you started.
When vegetables are submerged in a saltwater brine, naturally occurring beneficial bacteria (primarily Lactobacillus) get to work, converting sugars into lactic acid. This acidic environment preserves the food and gives fermented products their characteristic tangy flavor.
Tips for success:
- Salt is your most important ingredient. Use non-iodized salt (iodine can inhibit fermentation). Kosher salt and pickling salt are both great choices.
- Keep vegetables submerged below the brine at all times. Exposure to air can lead to mold. Fermentation weights or zip-lock bags filled with brine work well for this.
- Ferment at room temperature (ideally 65–75°F) and taste regularly — fermentation time varies from a few days to several weeks depending on your preference and temperature.
- Once you're happy with the flavor, move jars to the refrigerator to slow fermentation.
Best for: Cucumbers (pickles!), cabbage (sauerkraut and kimchi), carrots, radishes, green beans, peppers, and garlic.
🌬️ Drying and Dehydrating
Drying removes the moisture that bacteria, mold, and yeast need to thrive, leaving behind a shelf-stable product that's lightweight, concentrated in flavor, and endlessly useful in the kitchen.
You have a few options for drying:
A Food Dehydrator is the most efficient and consistent method. Most dehydrators allow you to set a precise temperature and run quietly for hours or even overnight. They're a worthy investment for serious gardeners.
An Oven can work in a pinch — set it to its lowest temperature (ideally around 140–170°F) and prop the door open slightly to allow moisture to escape. It uses more energy than a dehydrator but gets the job done.
Air Drying is perfect for herbs. Simply bundle small clusters of herbs together with a rubber band, hang them upside down in a warm, dry, well-ventilated spot out of direct sunlight, and let them dry for 1–3 weeks. It couldn't be simpler.
Sun Drying is the ancient method — and while it works beautifully in the right climate (hot, dry, with low humidity), it's not reliable everywhere and requires vigilance against pests and moisture.
Tips for success:
- Slice produce into uniform pieces so everything dries at the same rate.
- Store dried foods in airtight containers away from light and heat.
- Properly dried and stored produce can last 6 months to a year or more.
Best for: Herbs, tomatoes (sun-dried style), peppers, garlic, apples, berries, mushrooms, and citrus zest.
🫒 Storing in Oil or Vinegar
Submerging herbs, garlic, peppers, and other produce in oil or vinegar is a classic preservation technique that doubles as a way to infuse those liquids with incredible flavor.
Herb and Garlic Oils are gorgeous, flavorful, and useful in the kitchen — but they come with an important safety note. Fresh garlic or herbs submerged in oil at room temperature can create conditions favorable to botulism. To be safe, always store herb and garlic oils in the refrigerator and use them within 1–2 weeks, or freeze them in ice cube trays for longer storage.
Vinegar Preservation (quick pickling) is a fast, fun, and completely safe method that doesn't require any special equipment or processing. Simply bring a mixture of vinegar, water, salt, and sugar to a boil, pour it over your prepared vegetables in a clean jar, let it cool, and refrigerate. Quick pickles aren't shelf-stable like water bath canned pickles, but they'll keep in the fridge for several weeks and taste absolutely fantastic.
Best for: Garlic, fresh herbs, hot peppers, cucumbers, red onions, radishes, and carrots.
🍬 Making Jams, Jellies, and Preserves
If you're swimming in fruit, jam-making is one of the most satisfying things you can do with an excess harvest. There's something almost magical about transforming a pile of overripe strawberries into gleaming jars of ruby-red jam.
Jams and jellies rely on the combination of fruit, sugar, acid, and pectin to set into a spreadable, shelf-stable product. Many fruits (like citrus, apples, and berries) contain natural pectin, while others (like strawberries and peaches) benefit from added commercial pectin.
Tips for success:
- Use ripe but not overripe fruit for the best flavor and pectin content.
- Follow recipes carefully — the ratio of sugar to fruit affects both safety and the set of your finished jam.
- Process finished jams in a water bath canner for shelf stability, or store in the refrigerator for immediate use.
Best for: Strawberries, blueberries, raspberries, peaches, apricots, plums, figs, and citrus.
The Benefits of Preserving Your Harvest
Beyond the practical reasons, preserving your harvest offers a richness of benefits that extend well beyond the pantry shelf.
🥗 Better Nutrition
Commercially processed and transported produce loses nutrients over time. Home-preserved food, especially when processed quickly after harvest, retains far more of its nutritional value. Fermented foods go a step further, adding beneficial probiotics that support gut health.
💰 Real Financial Savings
The math adds up quickly. A prolific tomato plant that costs a few dollars to grow can produce pounds of fruit that, when canned into sauce or salsa, replaces dozens of dollars' worth of store-bought jars. Over a full growing season, preservation can save a household hundreds of dollars.
🌍 Environmental Impact
Preserving your own food reduces reliance on commercially processed goods that travel long distances and come in single-use packaging. It's a small but meaningful step toward a lower-impact lifestyle.
🎁 The Gift of Giving
A homemade jar of strawberry jam, a bottle of herb-infused vinegar, or a bag of dried herbs makes a genuinely thoughtful, personal gift. It's something you grew, made, and preserved with your own hands — and people truly appreciate that.
🧘 The Joy of the Process
There's a meditative quality to preservation work. Stirring a pot of jam, watching fermentation bubbles rise, or lining up a row of filled jars on the counter brings a sense of accomplishment and calm that's hard to replicate. It connects you to your food in the most direct way possible.
A Few Final Words of Encouragement
If you've never preserved food before, start simple. Make a batch of quick pickles. Freeze a bag of blanched green beans. Dry a bundle of herbs. You don't need a full canning setup or a dedicated pantry to get started — just a willingness to try.
Every jar you fill is a small act of self-sufficiency, creativity, and respect for the food you've worked to grow. And on a cold winter evening, when you crack open a jar of summer tomatoes and the smell takes you right back to your sunny balcony garden, you'll know it was absolutely worth it.
Happy preserving! 🫙🌿